
The default text and shape elements generated inside of Adobe After Effects are quite flat. Luckily there are a number of creative options to spice things up stylistically. For example, you can always add some pop via different layer styles, such as gradients and shadows. Or open up the Effects & Presets panel and dig through the various Stylize tools. In this example, however, I want to show you how to create something a little more organic. More specifically, we’ll be using photographs to add dynamic and customizable textures to our flat graphics.
For this tutorial I’ll be creating a passport stamp from scratch. I’m going to use this method to give my stamp a faded, grungy look.
First I’ll show you how to create the graphic inside of After Effects using shape layers and text elements. Next, I’ll go out and show how to capture texture-friendly photographs. Finally, I’ll bring the images back into After Effects and go over how to properly composite them as textures.
To follow along with the tutorial, download the project and texture files here.
Create the Graphic
To create the passport stamp I’ll use a combination of shape layers, text elements and icons. First, I’ll use the rounded rectangle tool to create two rectangular strokes (one dashed). These will serve as the border of the stamp. Next, I’ll add three text elements, including the name of the city, the date, and the word arrived. In true passport fashion I’ll place two star shapes around the name of the city, and then add an airplane icon in the upper left. Once I have all of the elements in place, I’ll nest all of them in a precomp. This will allow me to easily apply textures to the entire stamp at one time, as opposed to attempting to edit each layer.
Now that my stamp is ready, it’s time to go capture some texture images.

Capture Images
As I mentioned earlier, when creating textures inside of After Effects I have a number of creative options. I could search through the stylize effects and find some combination that I’m happy with, or I could create some synthetic textures via Turbulent Noise and luma mattes. While these are all great options that can give beautiful results, I want to make something a little more custom.
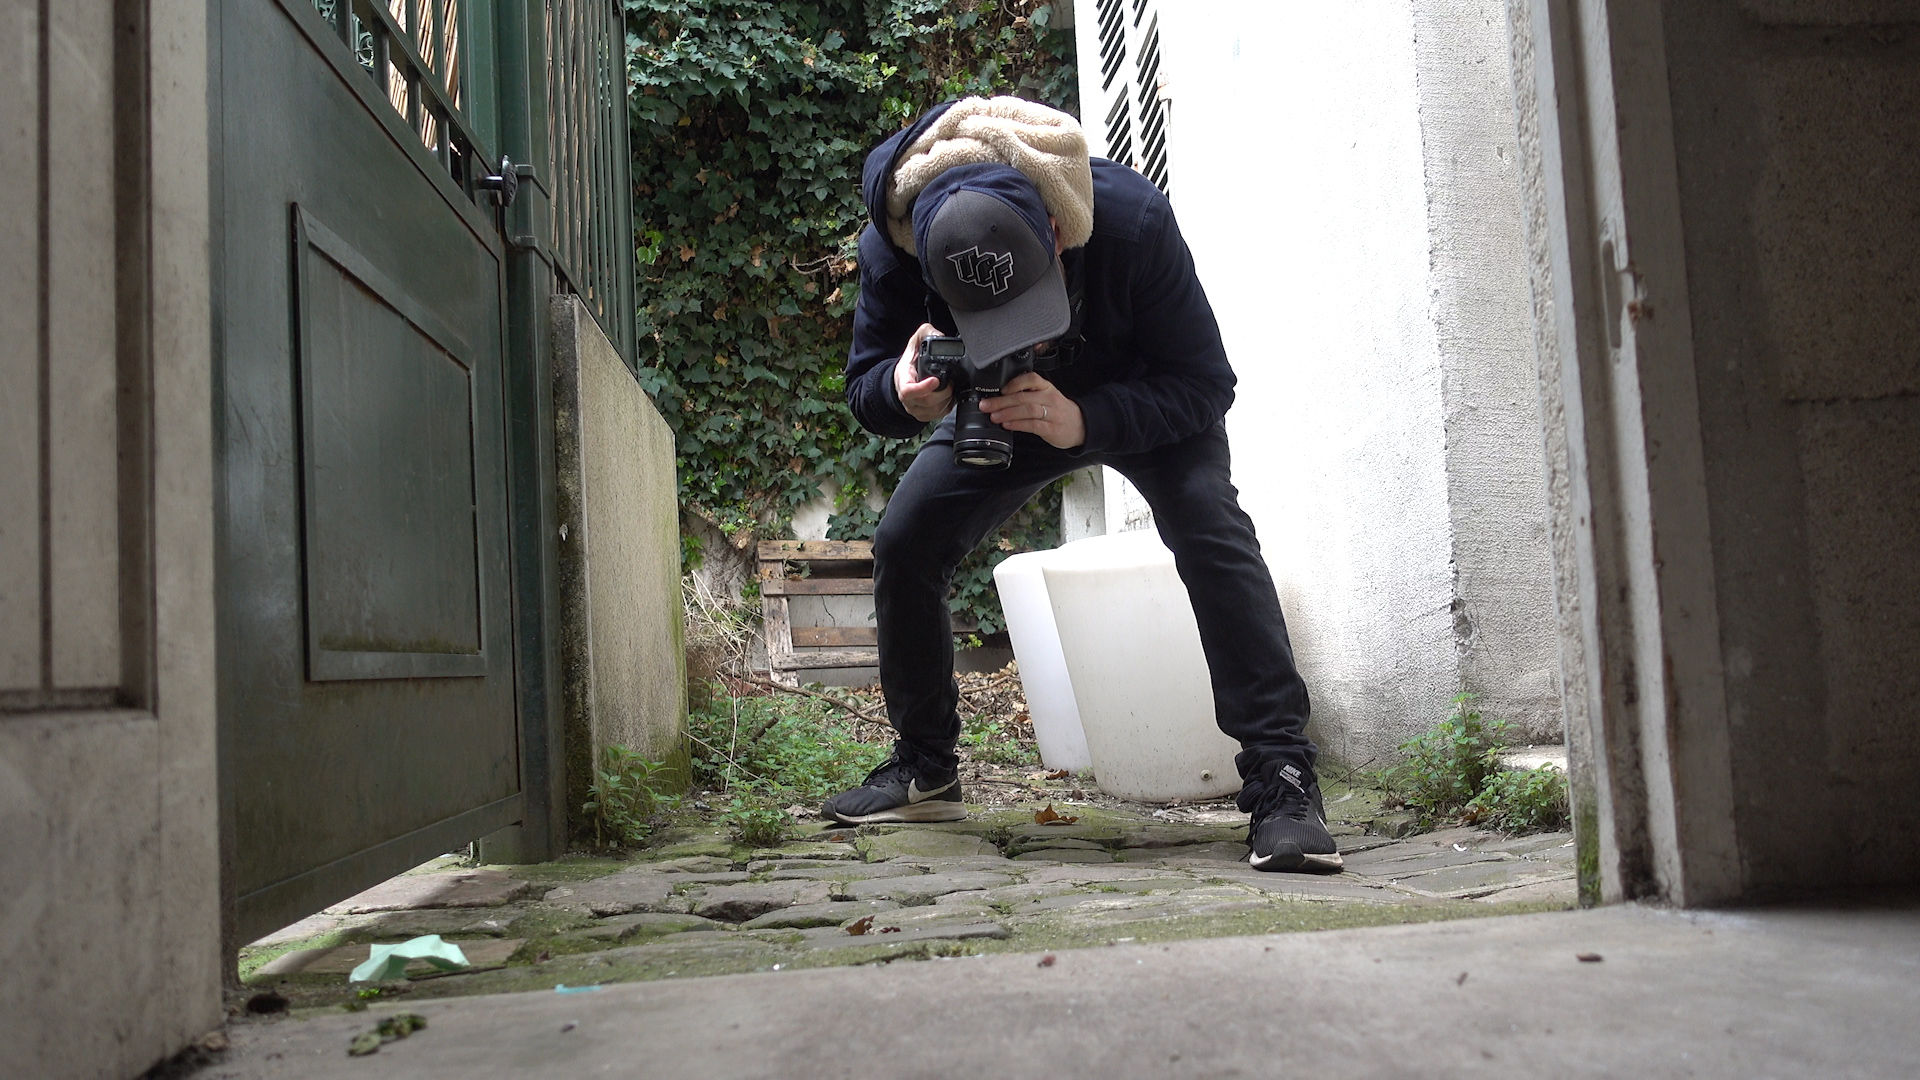
To create some truly unique textures I’ll go out and capture photographs of various textures. These can be as simple as brick walls and cobblestone streets. I’m looking to capture images with variations in brightness, as I’ll be using these images as luma mattes. This happens to be quite easy for me as I live in the suburbs of Paris, and my apartment building is over 100 years old. Nearly every surface has some sort of unique look

It’s good practice to take quite a few images, as some textures will work while other just won’t look good at all. Many times you’ll think something is going to fit perfectly, only to have it fall flat later in After Effects.
It’s also important to take images at the proper resolution. If I want versatile and customizable texture elements, then I need to capture high enough resolution images. This is especially true if I’m editing in 4k. That way I’ll be able to scale my images up and down, reposition them, and even animate them. You’ll also want to take the power of your editing system into consideration. High resolution images can be render intensive, so it’s really a matter of striking a balance.
Texture with Luma Mattes
Once I have all of my images captured, I’ll bring them into my After Effects project. To apply an image as a texture, I’ll first drag one above my stamp precomp in the timeline. Next, I’ll go to the Track Matte (TrkMat) column and change the precomp to Luma Matte “my image.” Now the visibility of my image layer is switched off, and I can begin to see some texture in my stamp graphic. But it still doesn’t look quite right.
To fine tune the look of my texture I’ll need to bump up the contrast of the image. For this, I’ll go to Window > Effect and Presets and search for the Levels effect. After I apply this to my image, I’ll bring the Input White and Gamma levels to zero. Now when I bring the Input White level back up the texture will begin to fade. I can hold Cmd/Ctrl as I drag the levels for more precise control.

With the texture looking good, I can now do some additional fine-tuning by repositioning the image. To make this easy on myself, I’ll lock the stamp graphic precomp and then select the image layer. Now I can drag it around within the comp panel and position the texture exactly where I want it. If I captured the image at the proper resolution, then I can also scale the image as well.
To test out the look of my other images quickly, I’ll perform a replace action. For this, I’ll first select my image layer on the timeline. Then I’ll grab another image from the Project panel and Alt+drag it over the existing image. This will swap those images out without having to go through the entire process again. With the new texture in place I can now customize it accordingly via the Levels effect and repositioning in the Comp panel.
Composite
Now that my stamp is ready to go, I need to stamp it on something! For this I’ll capture a quick overhead shot of a piece of paper. Then I’ll move my hand on screen to pretend like I’m stamping on the paper. If you want to avoid motion tracking madness, perform this shot on a tripod.
Once I have the shot I’ll bring it into After Effects and place it in a new composition. Then I’ll bring my passport stamp comp in and position it directly over my hand when it’s in the stamping position. Now I’ll go frame by frame and animate a mask path to the stamp comp, masking around my hand as it moves out of frame.

So there you go—in just a few simple steps I’ve stylized my graphic with a dynamic and completely original texture element.
If you don’t have a camera or you’re just looking for some additional texture options, check out these 50 distressed textures from my friends over at Shutterstock. These elements are already edited and ready to go as Luma or Alpha mattes. And remember, you can download the project files of my tutorial (with texture images included) here.

Have fun! Any questions? Leave a comment below.
Have you tried Wipster for video feedback and collaboration?