After Effects has a number of tools to help users quickly and easily create dynamic backgrounds. Using shape layers in conjunction with animators will offer an infinite number of creative options. Let’s take a step-by-step look at what we can create using nothing more than these two features inside of Adobe AE.
Create a Shape Element
For the first step, I'll grab the rectangle shape tool and create a small rectangle. You can naturally create whatever shape you like—the process is the same. I can customize the color settings I prefer at the top via the Fill attribute. To keep things simple, I’ll set the Stroke property to none. I can fine tune the size and roundness of the rectangle with the path properties of the layer. With my shape in place, I’m ready to create some copies.

First
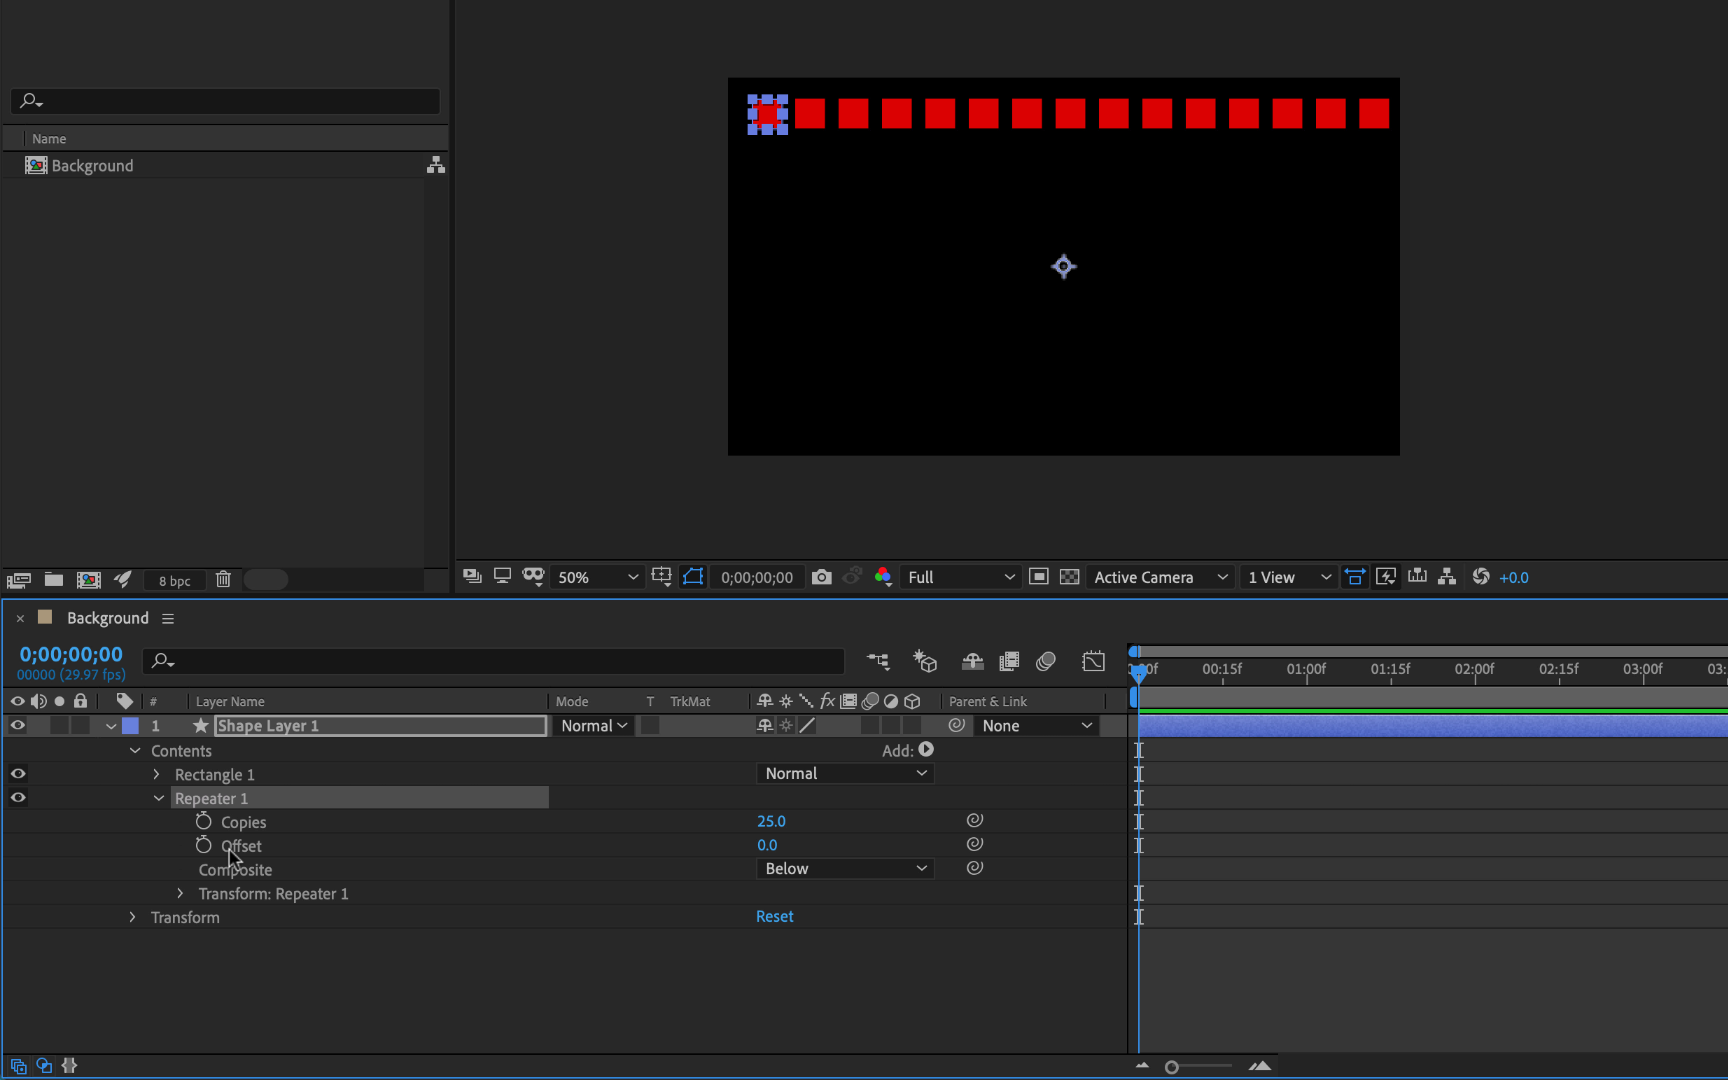
Add a Repeater
For the next step, I’ll add a Repeater animator via the Add menu. The Add menu can be found just to the right of the Contents section of the shape layer. With the repeater in place, I’ll open up the settings and then raise the number of copies. In the Transform properties of the repeater, I’ll customize the position attribute to help space out the rectangles horizontally across the screen. To get them right where I want them, I can also adjust the offset, or simply reposition the entire shape layer.
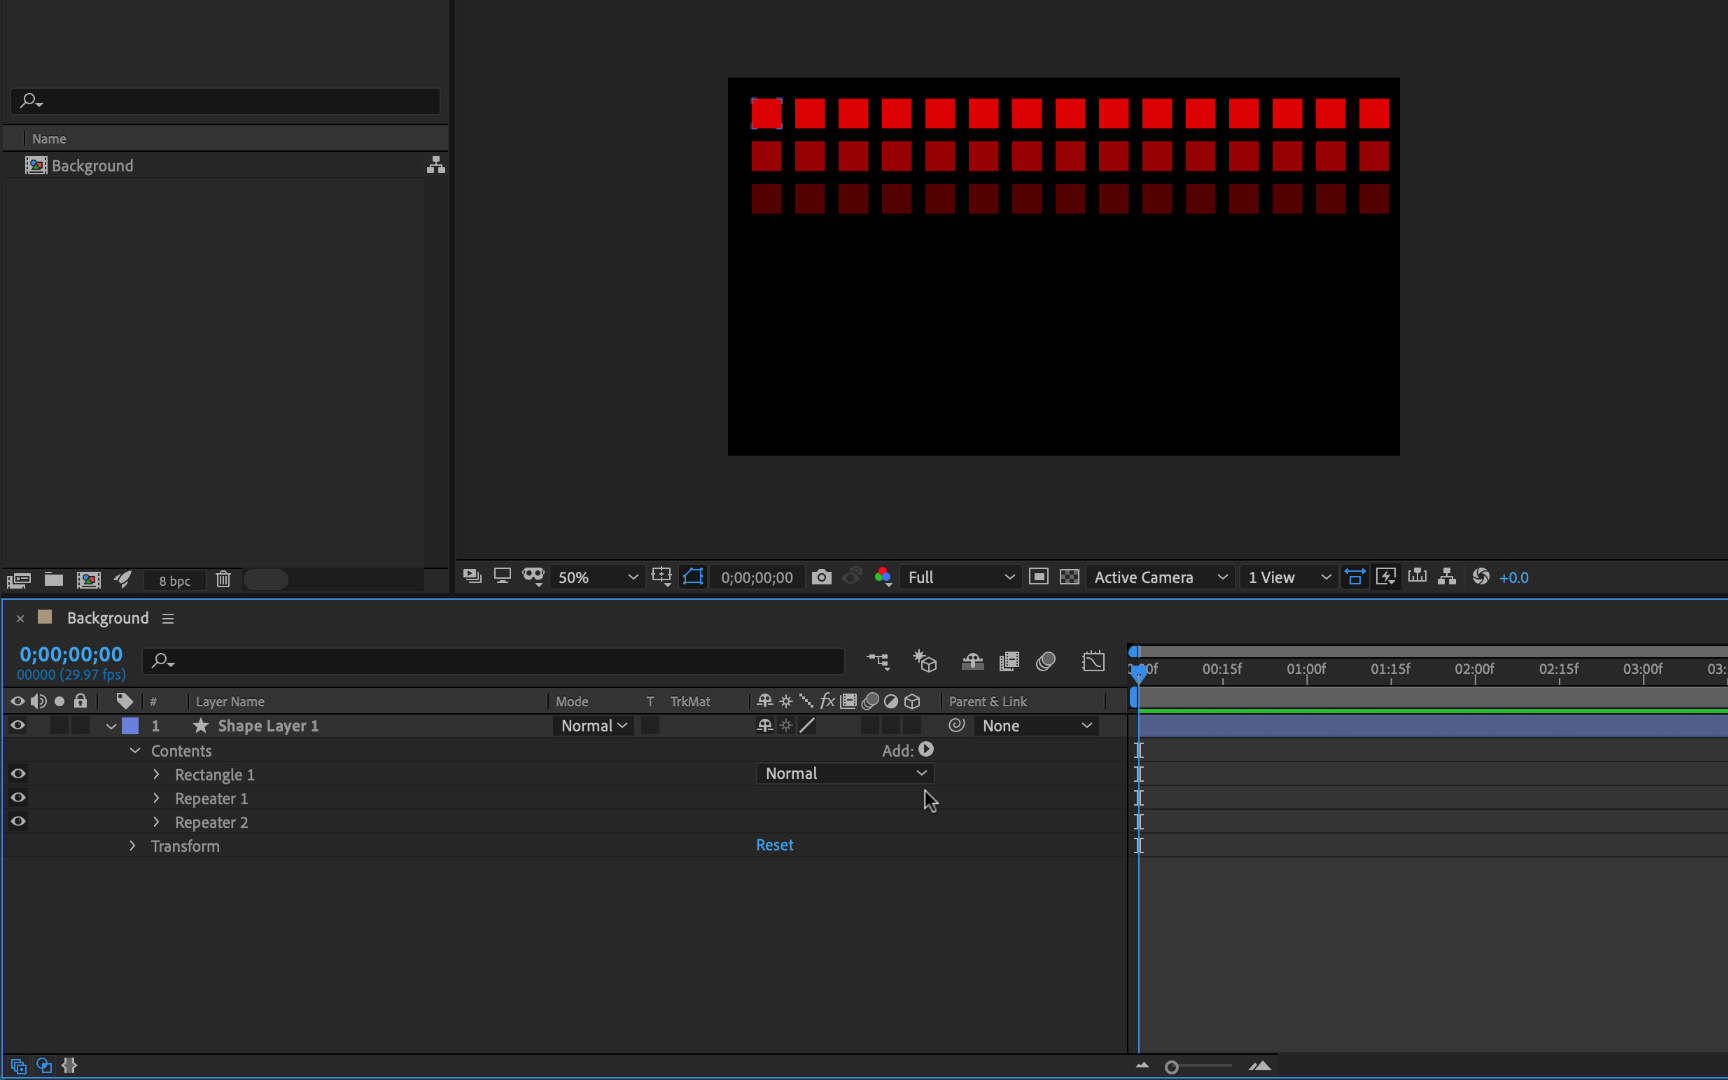
Repeat the Repeater
Next, it’s time to repeat the repeater. To do this, I’ll simply add another repeater, this time keeping the number of copies at three. Once again, I can reposition the copies using the offset and X and Y position properties in the transform settings of the repeater.
For this particular background, I don’t want to spread these all the way across the screen vertically. In fact, I’ll keep the formation of these three rows of lines relatively close to one another. Adjusting the scale and/or rotation of the second repeater will also give me some interesting results.
To create something a little more dynamic, I’ll add a gradient to the 3 rows of shapes, For this I’ll simply bring down the Start or End Opacity via the transform settings of the second repeater. I can go back and adjust the same attribute of the first repeater if I so desire, which will give a the group of shapes a horizontal gradient falloff.
Repeat the Repeater That You Just Repeated
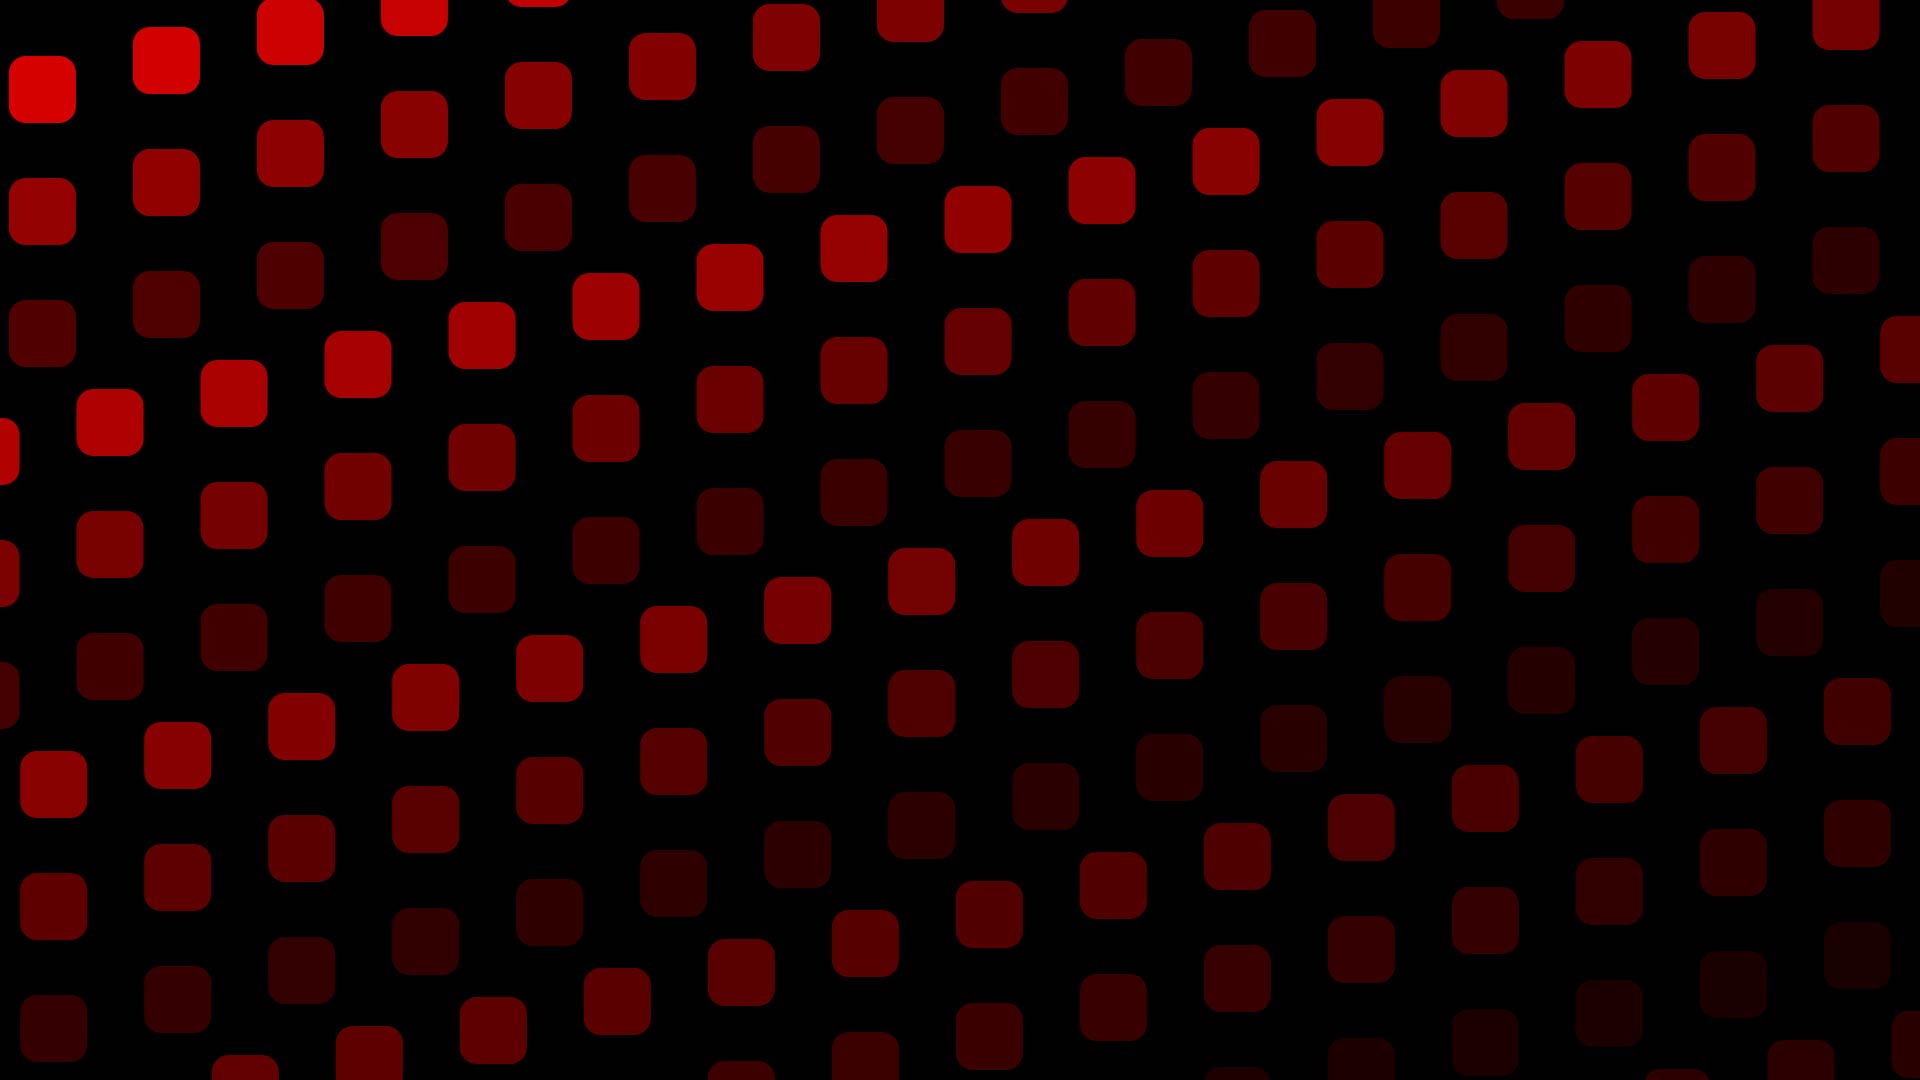
Here’s where things can get wild. For some unique patterns and looks, I’ll add a third repeater. For this one I’ll bring up the number of copies, and then adjust the vertical positioning via the Y position attribute so that it covers the entire screen. Next, I’ll create yet another gradient for the entire background via adjusting the end opacity of this third repeater. Now the background will have multiple areas of falloff, both horizontally and vertically.
To help disrupt the symmetry, I’ll open up the transform properties of the first repeater and bring up the Y position. Now my shapes are spread out diagonally across the frame, instead of just straight across.
Animate
To bring the background to life I’ll add subtle movement via a simple position animation. With three repeaters, there are naturally plenty of properties from which to choose to keyframe. For this particular background I’ll animate the X position of the third repeater. This will make the rows move across the screen from the right to the left, all at slightly different speeds. Naturally, there are a number of other attributes that would also give nice looking results.
Change up the Shapes
In addition to shapes, I can also achieve some great results with a simple open path. To create one of these, I’ll grab the Pen tool and draw a simple two-point path diagonally across the screen. I can come up with a very nice yet simple look with one basic repeater that has the end opacity turned down.


For a more dynamic look, I’ll add the Zig Zag animator, giving the line more energy. Now I’ll perform the same method above, adding two extra repeaters, turning the end opacity down for each along the way. Now check out the end result for this background.
Duplicate and Yes... Repeat
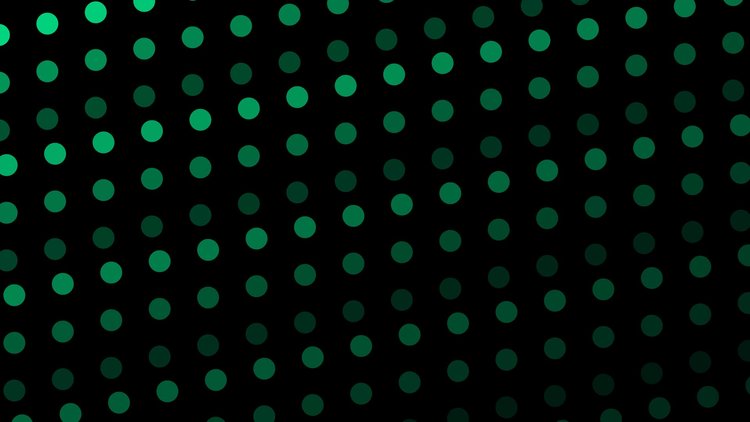
The beauty of this method is that it allows me to create a large number of simple backgrounds very quickly. I can easily create additional backgrounds based off of the examples above. It’s as simple as duplicating one of the comps (or shape layers) and tweaking a few attributes. Simply change the color or shape roundness and voila, I have a new background.
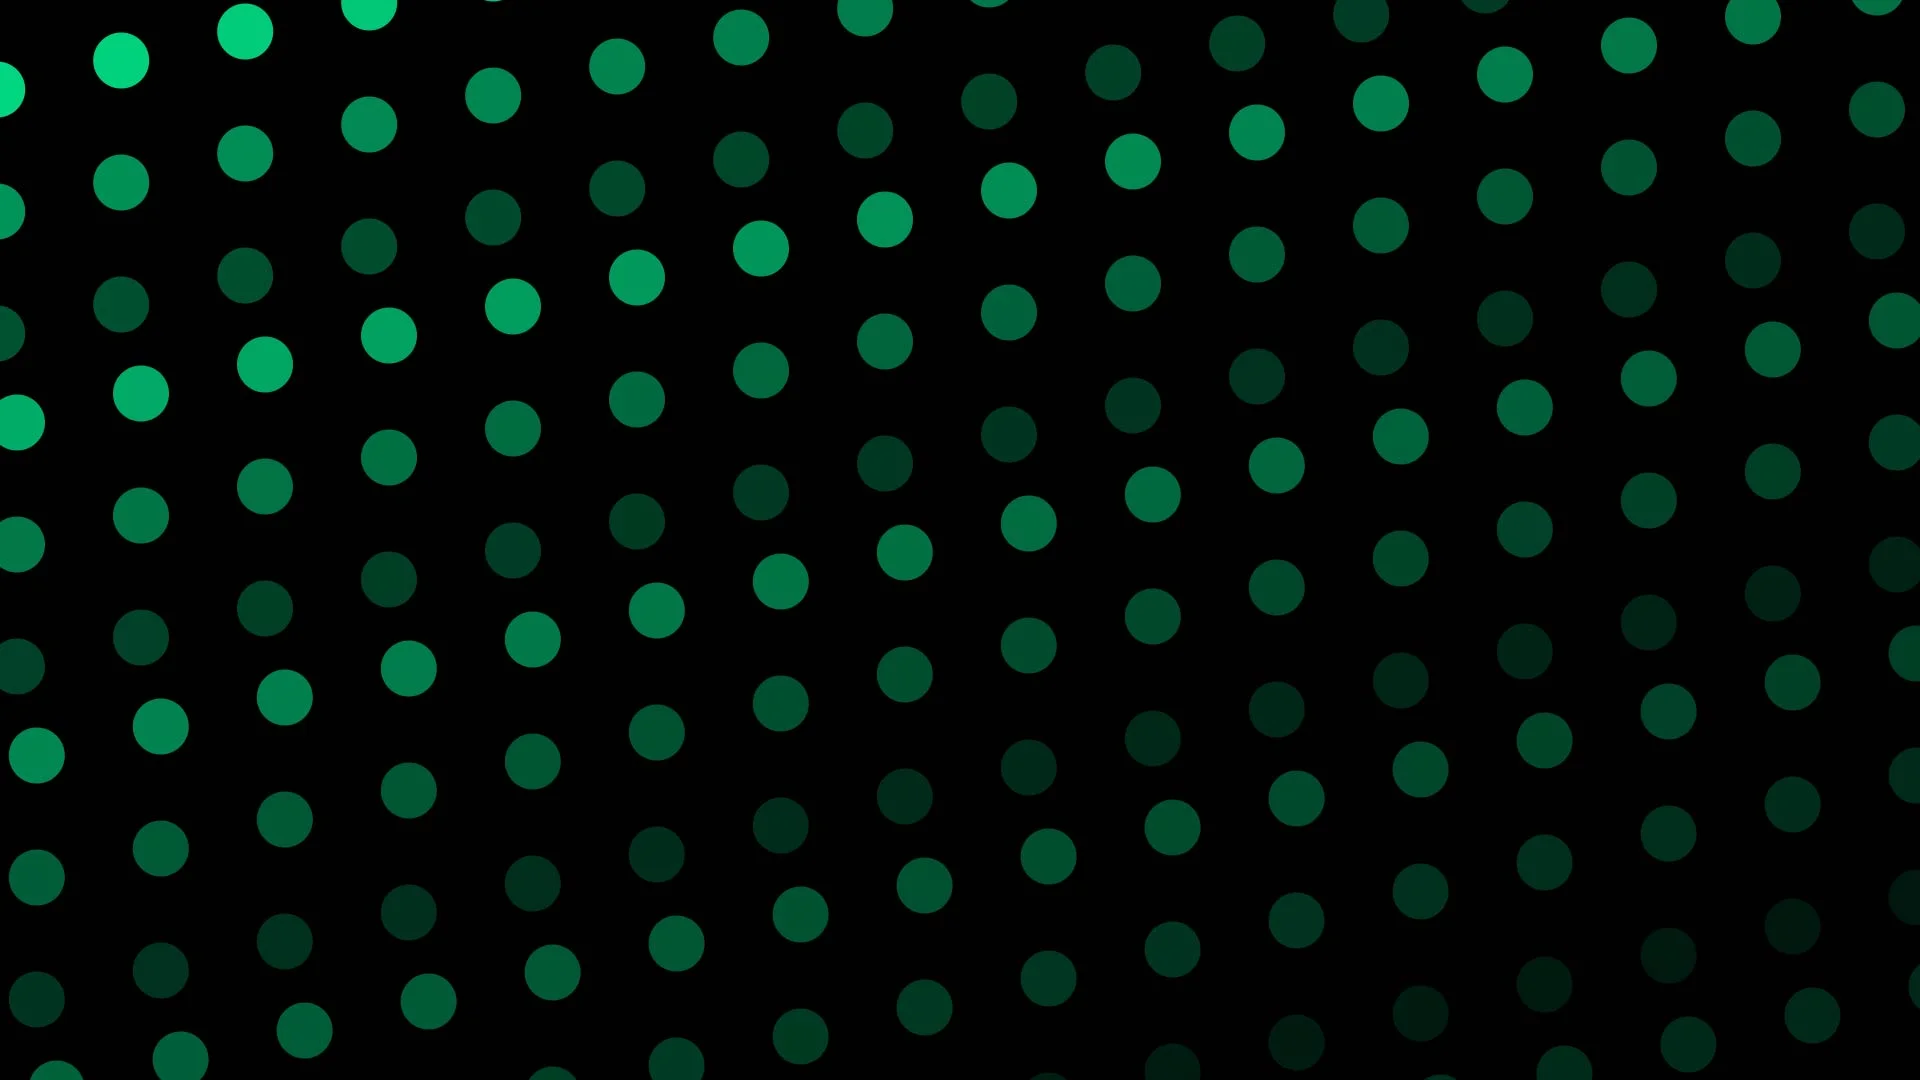
You can change the color and shape roundness to create a polka-dot grid.
While I’ve been focusing on positioning the repeaters to design the look of the background, there are still a plethora of other properties and attributes available for customization. In fact, I could even combine these together to create small groups of background elements. Try throwing a simple ellipse mask over one of these backgrounds, and scaling it down. Do this several times and you have an entirely new background made up of a number of different groups of shapes.
So what do you think? If you like the examples above, then go and download my project file here!